Fixing Blue Screen and crashes with a brand new RTX card by checking your RAM

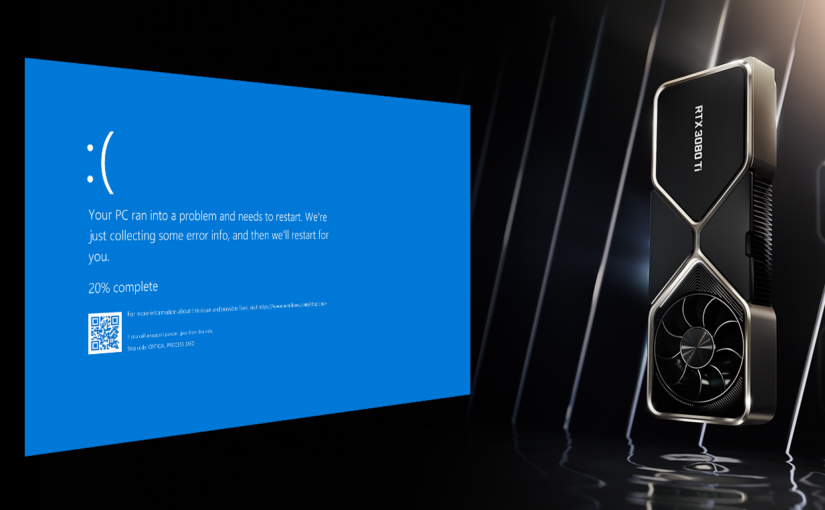
So you just got a brand new NVidia RTX 3000 or 4000 series GPU, you already have a powerful power supply (750W+) and you PC shows one of the following symptoms:

  • Blue Screens of Death;
  • Artifacting in games;
  • Random games and app crashing;
  • Computer freezes;
  • Black screen crashes.

Well it’s most likely not your CPU, motherboard or power supply dying.

What is XMP?

XMP stands for eXtreme Memory Profile, it’s an Intel thing, other names for it can be DOCP (on some Asus AM4 motherboards) or RAMP (Ryzen Accelerated Memory Profile). To make things simple I’ll call this XMP regardless of Intel or AMD since it stands for the same thing.

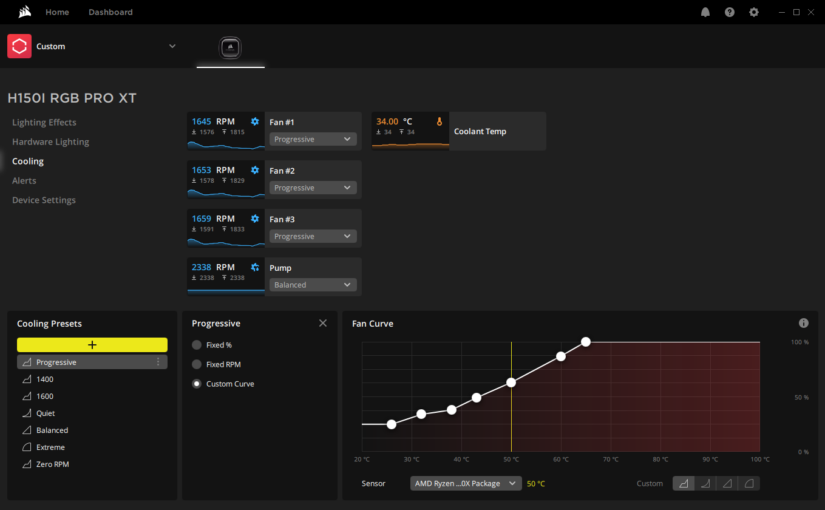
When you build your computer (or have it built) you will most certainly benefit by enabling XMP in your UEFI if your RAM comes with it. In my case I have some Corsair Vengeance RAM so I’m using the profile to benefit from the advertised 3600MHz on the kit I bought.

You have enabled XMP on your RAM

The crashes are most likely caused by having the XMP profile enabled, one quick way to check is to run a memtest86 (it’s free), set it up on a flash drive and boot from it. Run a long test and you should start seeing errors pile up.

As seen on SuperUser, red is bad

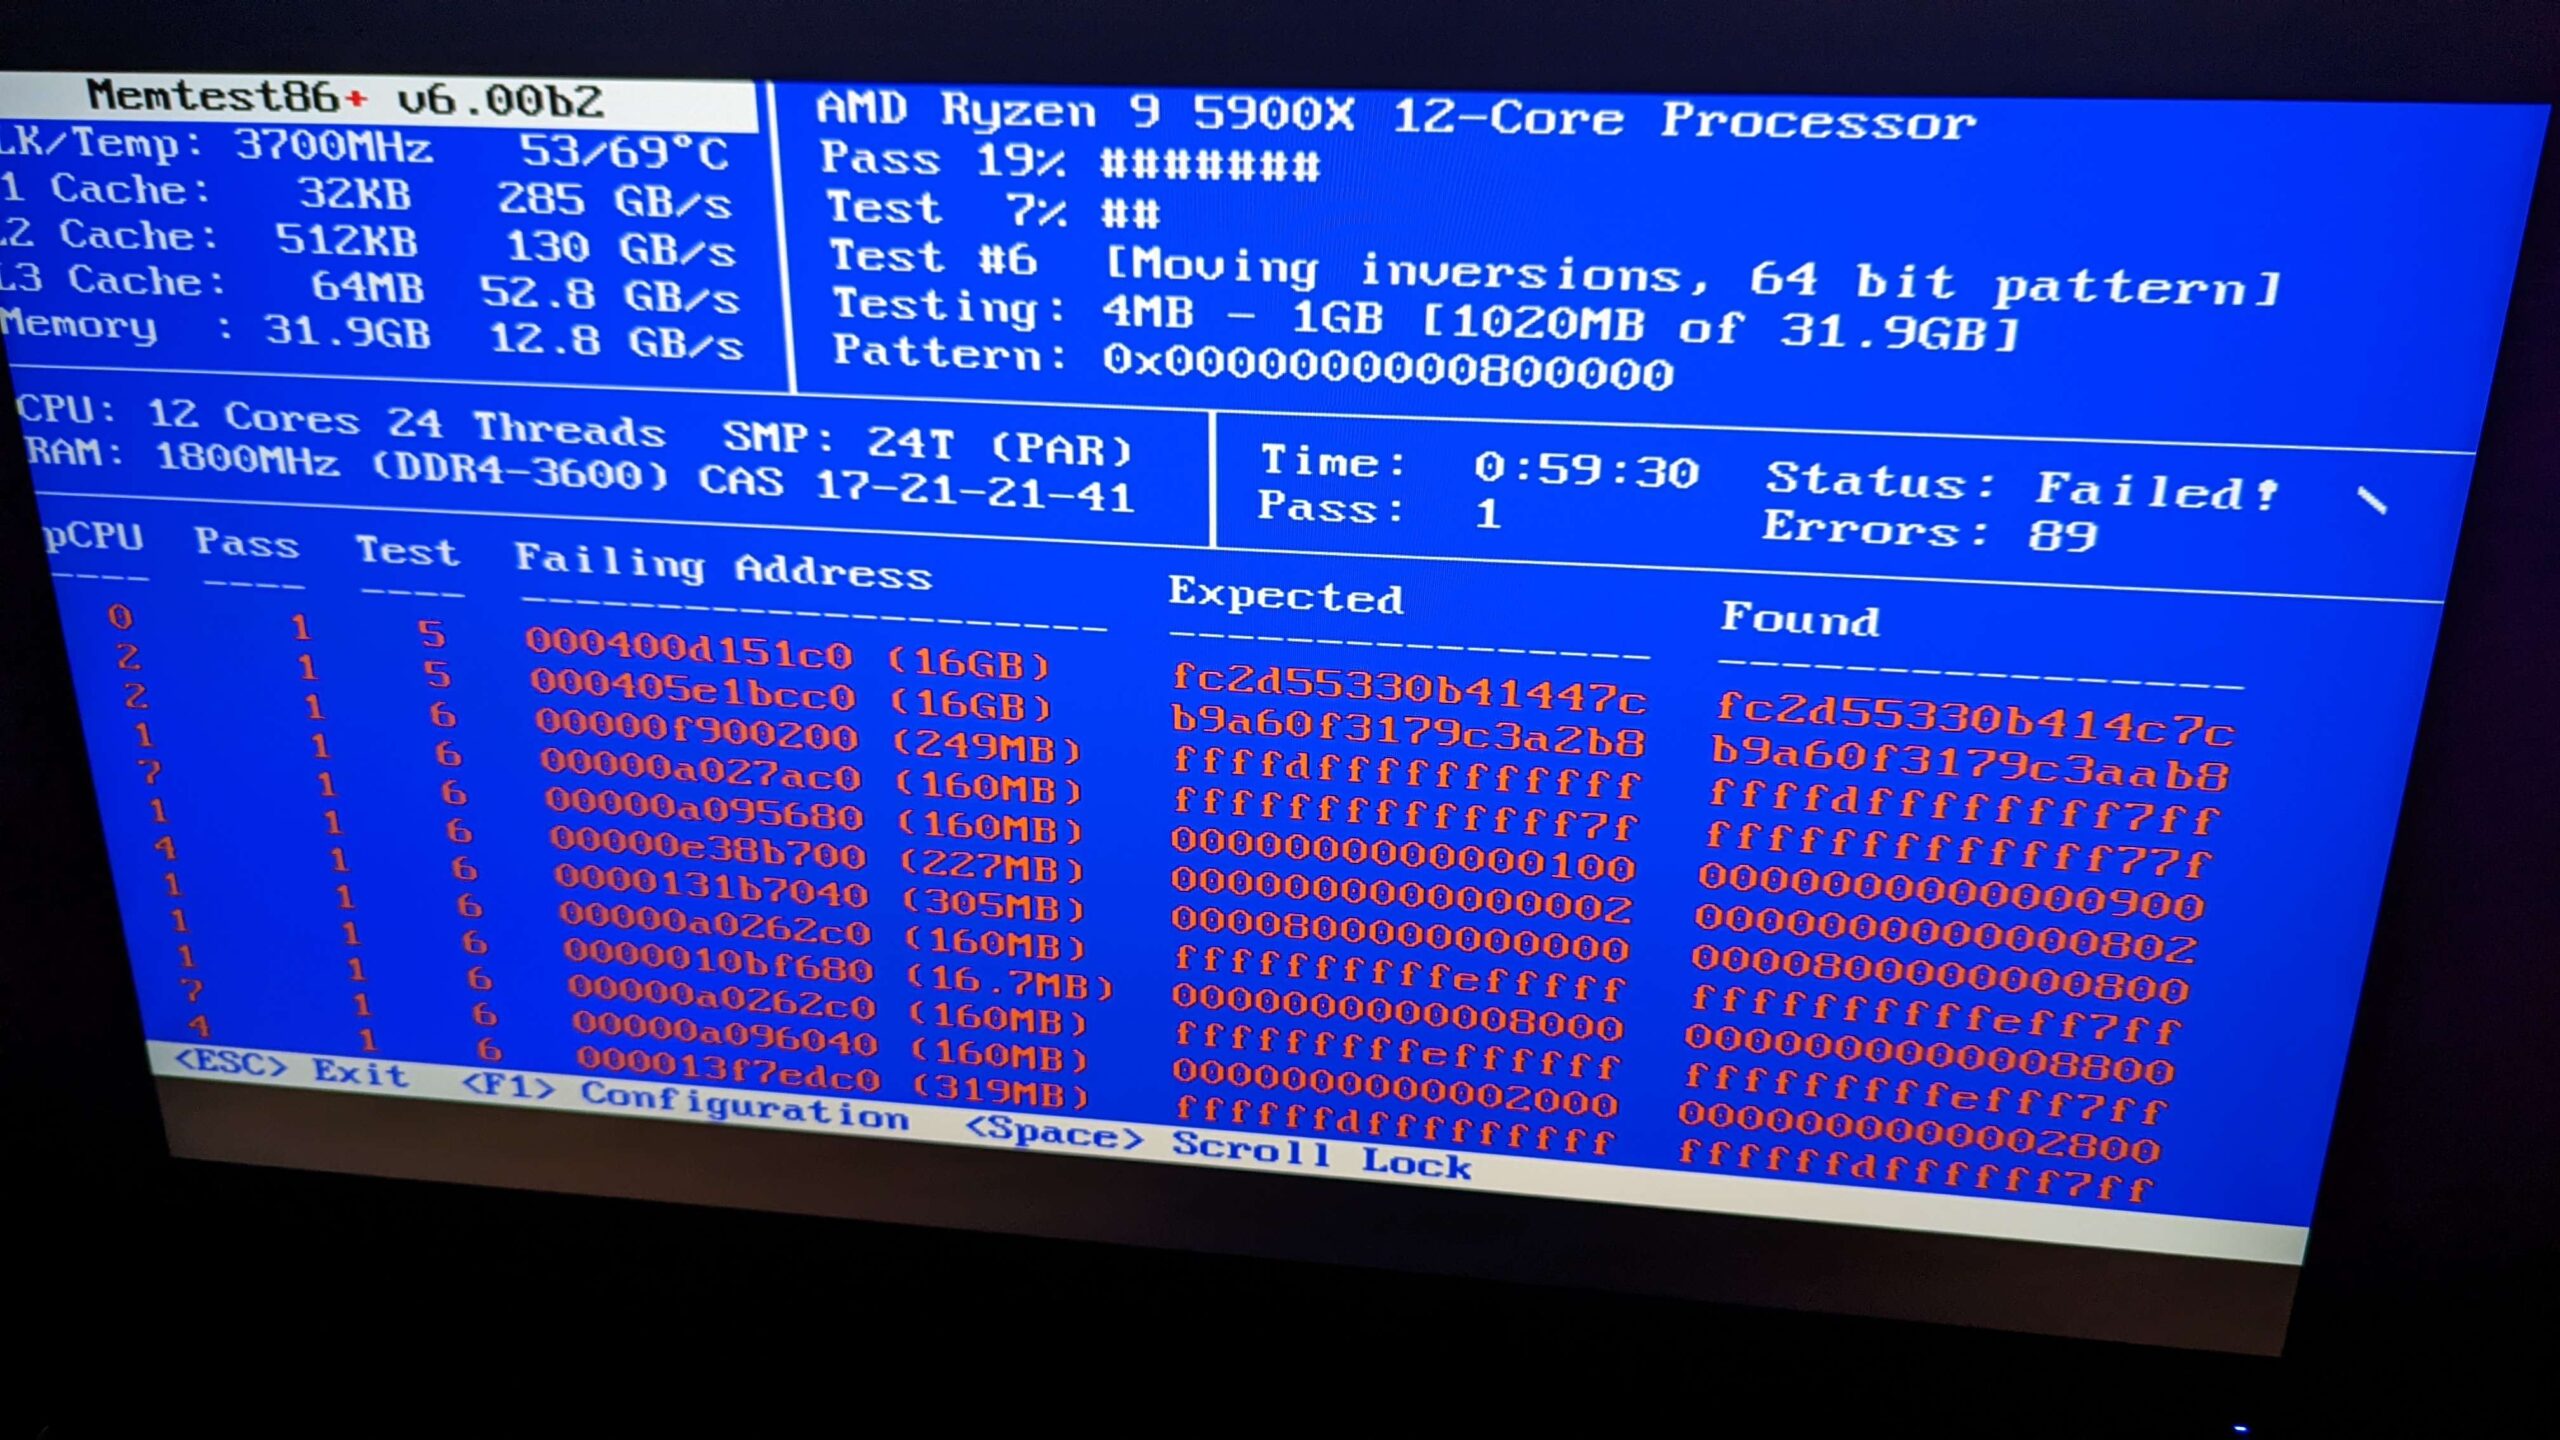
Depending on the amount of RAM you have you will see errors appear within an hour or even witness a crash.

Once you see errors feel free to cancel the test, reboot into the UEFI and disable the XMP profile (refer to your motherboard manual for instructions). Once this is done you will need to run another test but this time let it run for a couple of hours longer than previously.

Testing your system’s stability is very important and only memtest86 can do it effectively. DO NOT TRUST WINDOWS’ RAM CHECKING TOOL.

If everything goes well and no other error is detected than it means we have fixed the crashes.

Fix #1: No XMP profile

The cold, hard and sad truth is that you can no longer run the XMP profile. Just disable it to fix the problem and be done with it.

This might not be the answer you were looking for but this is the easiest way.

Memtest86 doesn’t lie and when is couldn’t find any errors without XMP enabled over several hours you can consider the problem fixed and everything will be going smoothly from there.

But… If you are willing to take risks there’s a second fix…

Fix #2: Increase RAM voltage

Disclaimer: You are responsible for whatever you do to your PC, everything is on you no matter what. Any damage caused by following these instructions are on you.
Overclocking and overvolting is not covered by your warranty and if something breaks it’s on you.

To get started you’ll have to enable your XMP profile once more, then you will have an input field for the RAM voltage. In my case the default setting was showing 1.35V.

I decided to increase the voltage to 1.37V and run memtest86. I found no errors within the hours which was good but not a promise. I let the test run for 16 hours total and I still didn’t have any errors.

In my case 1.37V is good enough. Your case is different so you’ll have to try 1.36V first, then increase it until it’s stable or your hardware can’t take anymore.
Be careful because you can damage your hardware and this kind of damage isn’t covered by any warranty.

What caused the crashes actually?

I can only speculate but I think it’s related to the transient power spikes being caused by high powered GPUs such as the RTX 3000 and 4000 series.
I’m speculating that more power is being sucked into the PCIE connector on the motherboard too, potentially causing a voltage drop in some other places where it matters such as the RAM.

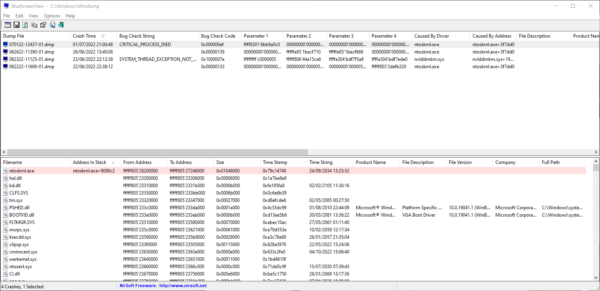
I’m not sure if this is a bad design coming from the GPU, the motherboard or even the RAM but it does cause some sort of instability that then causes artifacting in some games, random blue screens (BSoD) with unrelated error codes from each other sometimes (see my screenshot below) or even other issues.

Gamers Nexus did produce a video to explain the transients in more detail but I feel that it might only be scratching the surface for the issues that some of us might encounter.

My hardware

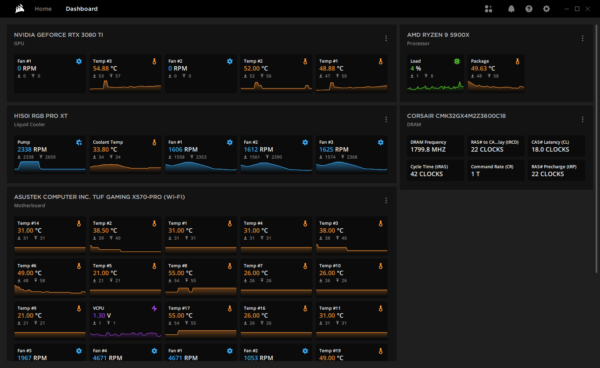
At the time of writing I’m rocking my BEEF PC that is build around the following components:

  • AMD Ryzen 9 5900X;
  • NVidia RTX 3080Ti (Gigabyte);
  • 64GB Corsair Vengeance 3600MHz RAM;
  • Asus TUF GAMING X570-PRO motherboard;
  • Corsair 850W PSU.

This was tested and has been stable ever since I’ve increased my RAM voltage.
I have tested this on another computer with the following specs:

  • AMD Ryzen 7 5800X;
  • NVidia RTX 3090 (FE);
  • 32GB Corsair Vengeance 3200MHz RAM (voltage bumped to 1.37V);
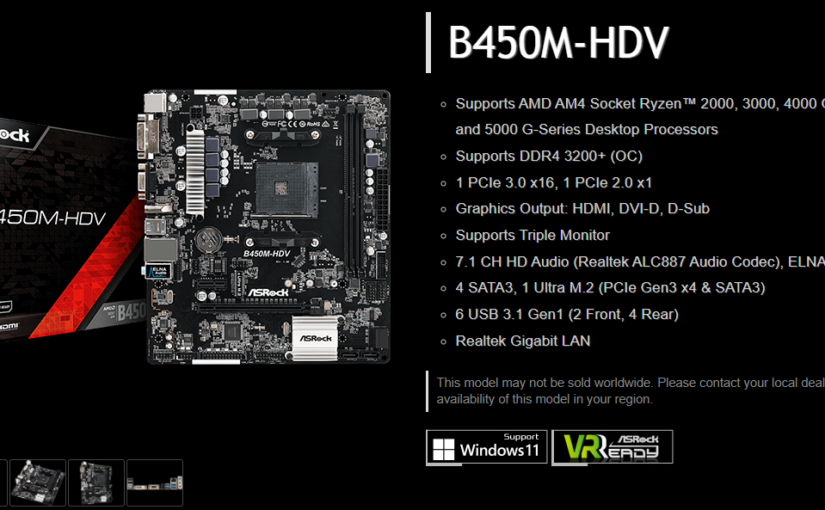
  • MSI Tomahawk B450;
  • Corsair 1000W PSU.

Conclusion

Those new RTX 3000 and 4000 series are pretty powerful and pull all the power they can get and some more!

I understand that most of the reasoning I went through was speculation and it feels like I’m making up a reason. I’m honestly not even convinced by what I think is the problem but increasing the voltage did fix it for me so I’m not going to argue that I’m running a stable system.


Corsair AIO resetting randomly with HWiNFO running

For the past two weeks I’ve had my Corsair iCUE H150i RGB PRO XT resets randomly. This happened when I swapped my Nvidia GTX 1080 for an RTX 3080Ti.

So much went wrong for no reason that I was questioning my sanity and how good I build computers.

Conflicting monitoring

It happens that I also run HWiNFO to monitor my hardware, not that I need to but just because I want to. The thing is that my AIO started reset itself and iCUE would break randomly, under load or while idling.

There was no pattern, I thought the problem would be coming from the cooler itself or the motherboard.

It turns out that HWiNFO might conflict on rare occasions with iCUE, Corsair and Asetek coolers. How do I know it might be that?
I didn’t run HWiNFO since yesterday and my AIO didn’t reset once or default to hardware RGB.

Setting up HWiNFO to not conflict with the AIO

Honestly when it comes to making two pieces of software not conflict all I can imagine doing is just turning off one of them. However this isn’t a solution for Corsair iCUE and my cooler still needs to work with the curve I setup.

I’ve started running OCCT to diagnose some stuff on my PC and found in the settings some checkbox for Corsair stuff. I thought to myself that HWiNFO might have one too.

All I need is to uncheck this box and I should be good to go.

Corsair iCUE might still fail

I like Corsair but iCUE can be garbage sometimes and this isn’t acceptable when the software is in charge of interacting with cooling.

Sometimes the sensors will no longer update in the dashboard and in the cooling settings, thus making it impossible to follow the temperatures and fan speed.
When this happens all I need to do is restart the iCUE service but I feel like it shouldn’t hang and I can’t help but be concerned about it.

Now the good news is that I no longer need to RMA the cooler. I can focus on other problems.

Fix ethernet interface following ASRock B450M-HDV’s UEFI update on Linux

I own an ASRock B450M-HDV for my home server, it was cheap. It’s currently paired with a Ryzen 3 2200G, but will be getting a Ryzen 5 5600G very quickly.

But to get a more recent CPU I need to update my UEFI from version 1.20 to 4.40. This is great because this means that my home server built cheap can properly evolve and extend its lifespan by a bit.

Symptom

After an UEFI update I always login and attempt to ping 8.8.8.8 but it wouldn’t reach.

No entry for the NIC exists within the UEFI but it is detected:

senpaisilver:~$ sudo lshw -C network
  *-network
       description: Ethernet interface
       product: RTL8111/8168/8411 PCI Express Gigabit Ethernet Controller
       vendor: Realtek Semiconductor Co., Ltd.
       physical id: 0
       bus info: pci@0000:07:00.0
       logical name: enp7s0
       version: 15
       serial: 01:23:45:67:89:AB
       size: 1Gbit/s
       capacity: 1Gbit/s
       width: 64 bits
       clock: 33MHz
       capabilities: pm msi pciexpress msix bus_master cap_list ethernet physical tp mii 10bt 10bt-fd 100bt 100bt-fd 1000bt-fd autonegotiation
       configuration: autonegotiation=on broadcast=yes driver=r8169 duplex=full firmware=rtl8168h-2_0.0.2 02/26/15 ip=192.168.1.3 latency=0 link=yes multicast=yes port=MII speed=1Gbit/s
       resources: irq:36 ioport:f000(size=256) memory:fcd04000-fcd04fff memory:fcd00000-fcd03fff

Resolving the solution

This is a walk in the part, when querying the NICs I need to get the logical name:

senpaisilver:~$ sudo lshw -C network | grep "logical name:"
logical name: enp7s0

In my case I’m interested in the enp7s0, this will be the string I will have to update in my netplan. In my case there’s only one netplan /etc/netplan/ which is 50-cloud-init.yaml (may differ on other installations).

In that file we need to copy the logical name in the ethernets section like so:

network:
    ethernets:
        enp7s0:
            dhcp4: true
    version: 2

Save and then run the following commands to enable the new netplan:

sudo netplan generate
sudo netplan apply

If everything works you should be able to reach the internet, otherwise try rebooting.

Why update the CPU?

I’m been having issues with slow encoding and to be honest the Ryzen 3 2200G was a low cost way of getting started, I need more power and I’ll probably update the SSD to a proper NVMe PCI-E 3.0 one if the need arises.

But by the end of the day I need more CPU performance and I’ll be need more RAM too for a PhotoPrism instance too. Maybe it would be a great moment to properly setup a Grafana dashboard too since I already have most of the docker compose file ready.

So much to do… So much to do…

Update 2022/01/08

I received the Ryzen 5 5600G and proceeded to install it, after working for a few minutes the screen would turn off and sleep. The reset and power buttons wouldn’t register at all, the ethernet would cut off meaning I had no other option than to pull the plug (or use the PSU’s switch).

Continue reading Fix ethernet interface following ASRock B450M-HDV’s UEFI update on Linux

Beef PC

It’s upgrade time and starting today I’ll be rocking a new build.

Old parts

My 2017 desktop has some very old parts dating back to 2011 and 2012. Only the GPU dates back to 2017 and I’ve add some SSD drives last year.

The old parts are:

  • Intel i7 3770K @3.50GHz with 4 cores;
  • 4 times 4GB Corsair Vengeance 1866MHz;
  • Gigabyte GTX 1080 8GB (the newest);
  • Asus Sabertooth P67;
  • Cooler Master HAF-X.

It has also two Samsung 860 SATA SSDs and a 2TB Seagate Barracuda spinning rust drive.

New parts

First of all to get started I’m only swapping the CPU (+ cooler), motherboard and RAM. I’ll be adding two NVMe PCI-E 4.0 SSDs to the lot too.

I’m now rocking:

  • AMD Ryzen 9 5900X @3.7/4.8GHz with 12 cores;
  • 2 times 16GB Corsair Vengeance LPX 3600MHz CL18;
  • Asus TUF Gaming X570-PRO;
  • 2 times 1TB Samsung SSD 980 Pro M.2 PCI-E 4.0 NVMe;
  • Be quiet! Silent Base 802;
  • NVidia RTX 3080Ti.

I’m still shaking because of the price and the sheer excitement I’m getting out of building such a beast. More the excitement actually than the price.

The beef PC

Right now it’s what I’d call the beef PC, even though it’s not overpowered GPU wise and the RAM could be increased to 64GB or even 128GB, I love it the way it is.

I know the DDR5 is going to be a thing, probably next year and we are already talking about PCI-E 5.0 but for now I have a good upgrade and it’s worth it.
I could wait but if I did wait what guarantees would I get that my previous hardware would still perform well enough?
Would the jump in performance and possible launch issues be worth it ?

A platform’s maturity counts very much for me. I believe I’m not missing on much right now.

With that said I’m leaving you to the reference that made me call this PC the Beef PC:

Check out 2ManySnacks’ channel, great content, the featured image is part of that video.

Update 13-06-2022

I GOT AN RTX 3080TI NOW!!!!!

Separate your audio streams for streaming on Windows

Streaming and recording video games is something I’ve been into, casually, for years (since 2006). Recording gameplay with audio usually includes all the system audio and this can be a problem.

Recording all system audio issue

Windows, your web browser and the game’s audio will play through the default device. That default device is usually your headphones or your speakers.

OBS and ShadowPlay usually record that default device, this is something we’ll have to change.

Virtual Audio Cable

I’m using Virtual Audio Cable (VAC). You can use the trial version, buy it or use an alternative virtual cable driver, this is all up to you.

Open the Virtual Audio Control Panel as an admin (always) and setup the desired number of lines. Each line will be setup to receive audio from certain apps depending on the usage you want.

I have the main line for gameplay, my Discord line to record people I’m talking to. I also have a third line for miscellaneous things and a fourth that I’m not using.
Ideally I would’ve have set one line specifically for gaming, but Windows 10 being what it is (and standards being what they are) it ain’t going to work like that.

To complete the audio setup I also need to output those lines to something and that something is my headphones. Each output line automatically inputs the sound into a virtual input too, that way you can listen to it.

Basically this is how things go:

  • Outputs:
    1. Headphones;
    2. Line 1: Main output (default output device);
    3. Line 2: Discord output;
    4. Line 3: Misc output.
  • Inputs:
    1. USB Microphone (default input device);
    2. Line 1: Main output mirrored as input into my headphone;
    3. Line 2: Discord output mirrored as input into my headphone;
    4. Line 3: Misc output mirrored as input into my headphone.

Windows 10 doesn’t remember

Like I said previously one problem that forces me to set the line 1 as the default output device is because Windows 10 can’t exactly remember correctly which app is outputting on which device.

This issue could also be the other way around where an app will have a different output selected but still output to the default device, I’m not sure why but answers would be appreciated.

OBS recording

OBS is a great piece of software that permits me to merge lines and split some too! This is perfect for recording gameplay and streaming (at the same time).

First we need to specify that we will be recording several tracks into our ouput in OBS, for that we need to go into the settings: File, then Settings.
From there we go into the Output section and select in Streaming the first audio track as the one we will be using for streaming like so:

As a bonus you can also use a different audio track for the VOD so you can have avoid having Spotify playing in the VOD (and avoid the DMCA).

In recording we need to tick all audio track to enable all audio tracksfor later:

Then of course we need to name them and change the audio bitrate if you desire:

In my case I have everything playing on track 1 since it is the default track.
Track 2 will contain the game audio or the main subject of the video/stream.
Track 3 is my voice, followed by track 4 with voices from Discord.

Having different tracks enables me to control what is output when I record and stream, this way I’m able to make audio commentary when preparing a video and after that replace that commentary with a carefully recorded one, while keeping the gameplay audio without altering it.

To select where what track plays it’s necessary to go into the Edit menu, then Advanced audio properties. Set the different inputs and outputs as you wish in the new window:

Keep the first track checked for all lines, check the other numbers as you need.

Troubleshooting: static/glitch audio

After a while if the computer is not rebooted for days it might happen that the audio fizzles, glitches or becomes static. This isn’t a good experience.

The fix consists in restarting Virtual Audio Cable or the audio service from the control panel (as an admin).

Going mechanical: Corsair K95?

I’ve been sporting a nice Microsoft Sidewinder X6 for years, but every good thing comes to an end. To be faire there was nothing wrong with it, it still works and all but I wanted something more, something different.

I’ve switched to a Corsair K95 with Cherry MX Speed switches.

Cherry MX Speed

The Cherry MX Speed switches used in this keyboard are actually surprising. No pressure is required to push them down. Since the switches are linear there’s no resistance at all thus making me type faster, but not by much.

The switches are quiet but the keycaps are noisy without adding any rubber rings.

iCUE

The iCUE is the essential tool that you will need to manager your keyboard settings, macros and lighting. I’m skipping this part since I didn’t test it much but it missing some things.

Regrets?

Oh boy where do I start?

The Cherry Speed switches are too sensitive for me, if I hover a key or rest a finger on it will trigger a keystroke. After a week of use I wasn’t used to them at all.

The iCUE software isn’t bad, but I would love to be able to add multiple programs to the same profile, it would make life easier for keeping similar profiles together like for example the regular Overwatch profile and the PTR one.

Conclusion

I sent it back after a week. I don’t like Cherry MX Speed switches. This post isn’t even worth calling a review, it’s more of a rant and I’m actually pissed about it because I wanted to love this keyboard but was dreaming about my old Sidewinder X6…

Maybe a K70 with Cherry MX Brown switches would fit me better.

Nintendo Switch: hands on

With Pokémon Let’s Go Pikachu/Eevee and Super Smash Bros Ultimate coming out, I couldn’t pass any longer.

Handling the console

It’s quite wide. The joycons are not the most comfortable and need some serious getting used to, especially on games such as Monster Hunter Generations Ultimate!

The pro controller is not cheap at all, but since I didn’t buy it (yet?) I can’t speak about its comfort. It looks much better for using it while the console is standing or docked.

The triggers are awkward to use, the sticks are not placed ideally. It’s looks like a hot mess at first and getting used to it is part of the learning curve, not that it’s a good thing.

I’m a trained soldier though!

Get a glass screen protector

The screen glass is low quality compared to the smartphone glass, it will keep your fingerprint like the police just arrested you. It might scratch really easily too, especially if the dock is used a lot.

Any tempered glass screen protector should improve the screen durability, the biggest challenge will be placing it correctly with no dust or air bubbles. I have yet to master this skill.

No memory card included

As expected there’s no micro SD card included, I’d recommend getting at least a 32GB if you plan to screenshot a lot and purchase games from the eShop. Just to list storage requirements for a couple of games:

  • Super Smash Bros Ultimate: 14.7GB;
  • Zelda: Breath of the Wild: 14.5GB;
  • Xenoblade Chronicles 2: 14GB + 4.5GB (DLC);
  • Monster Hunter Generations Ultimate: 12GB;
  • Mario Odyssey: 5.6GB;
  • Stardew Valley: 1GB.

No one is safe from storage heavy games anymore.

The Nintendo eShop

The eShop should learn from other stores. There’s no way to get easily a list of free games or demo without resorting to the search features and ordering by price.

Sometimes by going back through the prompt instead of pressing B will throw you back to the eShop home, not what I though would happen when I started downloading a couple of demos.

Album

When saving screenshots and short clips of 30 seconds they are sent to the album which is the screenshot folder where nothing seems to be sorted. The only way to transfer these files is by ejecting the micro SD card, which is a fine option.
But there’s no way to upload videos to YouTube!

It’s possible to only share screenshots and videos through Twitter and Facebook, or you could buy a card reader and turn off the console then dump the micro SD card’s media onto your computer.

Not every screen can be screenshot and the output format is always JPEG, not the best quality.

Regrets

The red joycon doesn’t look red like on the pictures. It’s closer to a neon red than a bright red color. I’m nit-picking because I really like red. The controls are not as comfortable when getting started too, it’s like there’s a break in period for your hands.

Accessing the other region stores, like the Japanese one for Phantasy Star Online 2 Cloud (to get the Breath of the Wild items), requires adding another user. If you keep that user on the Switch you will be asked to select a user to launch at game… I’d prefer a default user in this case.

There’s no option to upload videos to YouTube as of right now.

Conclusion

As I have not had the opportunity to play a game online I can’t comment it just yet, same goes for cloud saves and any of the advertised features of the subscription. I just really hope that the sales won’t be lock behind the subscription since I don’t plan on paying until I get a game that can be played online (like Smash).

I’ve bought Super Mario Odyssey with the console and got Pokémon Let’s Go Pikachu when it came out, for now I feel satisfied since they are both great games and the upcoming line up is great.

There have been talks of new Switch hardware, I’m not sure how to react to that but an upgrade might be coming.

Desktop specs: 2017 edition

While it currently is 2018 I still think it’s not too late to speak about my desktop’s specs as they were during the last upgrade (in 2017).

Under the desk

  • Intel i7 3770K 3.5GHz;
  • 16GB (4 by 4GB) Corsair Vengeance 1866MHz;
  • Gigabyte GTX 1080 (8GB);
  • Asus Sabertooth P67;
  • 2 Seagate Barracuda 2TB drives;
  • Corsair H100i CPU cooler;
  • Coolermaster HAF-X.

I upgraded to the P67 platform during summer of 2011 with an i3 2100 and swapped it out during the next summer with an Ivy Bridge CPU. I am still not overclocking because I don’t actually feel the need.

SSDs would be great but are still not cheap enough for the performance and capacity I’d be interested in and the Sabertooth P67 doesn’t have support for NVMe drives.

On the desk

  • AOC 24″ 144Hz 1080p main screen;
  • Hannspree 25″ 60Hz secondary 1080p screen;
  • Microsoft Sidewinder X6 keyboard;
  • Logitech G500 mouse;
  • Roccat Kanga mousepad;
  • XB360 pad;
  • AKG K142HD headphones;
  • Generic Logitech microphone.

The secondary screen used to be a primary, but it’s getting pretty old and I felt that upgrade to a GTX 1080 was a good reason to get a high refresh rate screen.

Sadly the AOC screen can’t be used with a secondary screen when plugged into a Display Port… That’s because turning off the screen will pull low the hotplug pin on the DP connector therefor “disconnecting” the screen and moving over my windows. High refresh rate such as 144Hz are a thing with DVI.
The reason I need to be able to turn off manually the screen is because the 360 pad seems to wake up the screens.

The software

  • Windows 10 Pro 64 bits;
  • Logitech Gaming Software;
  • Cygwin.

Sadly for gaming running Windows is still pretty much the best way to enjoy games. But gaming isn’t the only reason.

Because I don’t need a GPU for Linux I can use VirtualBox for when I want/need to use Linux.

Benchmarking

Let’s see how it performs! In run my benchmarks with the settings I play with.

These benchmarks are just here to add some fluff and give a rough idea of how it performs, I don’t plan on running 3DMark or any specific software suite.

Final Fantasy XV Windows Edition Benchmark

Metro: Last Light

Click to enlarge

Conclusion

This PC is good enough for gaming in 2018, it’ll certainly last long enough to not have me bother upgrading for a couple of years.

The bottleneck will be, without a doubt, the CPU and RAM… Sadly not lasts forever. Since I’ll be upgrading the combo MB+CPU+RAM I’ll be able to upgrade to some sweet speedy storage.
I really hope that NVMe SSDs will drop their prices in the next few years.

And just for the health of PC gaming I hope that mining will drop dead and stop being a thing with consumer GPUs.