I have a passion an addiction called Gunpla, it’s about building models from the Mobile Suit Gundam franchise which is basically a giant robot franchise. Giant robots are great.
While thinking about how to change a bit my streaming content I thought about the huge 13 boxes of Gunpla I have not built yet and that has been staying unopened for a couple of months. Basically I thought about an excuse to force myself to take time to build.
A passion
I first fell in love with Gunpla back in December 2021 and I have been building until October 2022. I stopped since I had planned to travel to Japan between November and December.
I have currently built over 30 models, mostly from the Mobile Suit Gundam franchise, and while I’m starting to have some pretty crowded shelves I have not intention of stopping.
Call it an addiction if you want.
Mobile Suit Gundam
That one big mecha anime franchise that appears to be really hard to get into until you realize it’s easy. Pick wherever you wanna start and start.
Most series have their own timeline and are standalone such as:
- Iron Blooded Orphans;
- Mobile Suit Gundam 00;
- Mobile Suit Gundam SEED (& SEED Destiny);
- Mobile Suit Gundam Wing;
- The Witch from Mercury.
The list does go on.
And then some are considered as the main timeline called Universal Century (UC):
- Mobile Suit Gundam;
- Mobile Suit Gundam Z and ZZ;
- Char’s Counterattack;
- War in the pocket;
- Stardust Memories;
- Mobile Suit Gundam Unicorn;
- Hathaway’s Flash.
And while this isn’t a complete a list of course you should feel free to pick it up anywhere you like. I started with Hathaway’s Flash and Unicorn, you will probably miss some plot points but whatever gets you started is valid.
For real just pick wherever you wanna start, don’t care about people judging you, care only about getting into it.
Not just models
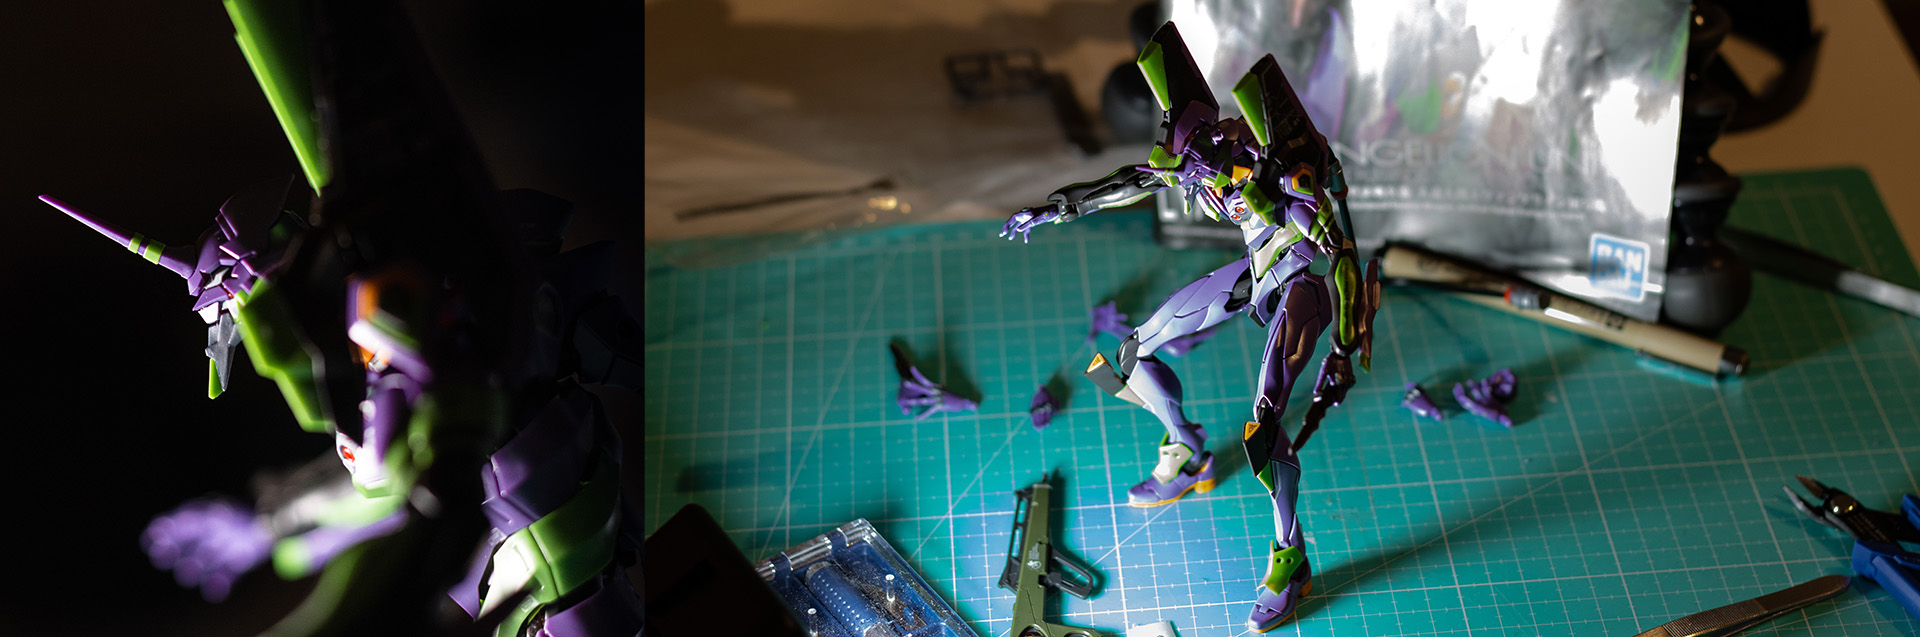
Gunpla comes from Gundam and Plamo, and Plamo comes from Plastic and Models. The truth is that they are much more than just mere models you look at: they are fun to build and pose.
Unlike Games Workshop’s Warhammer (40K) franchise you get to built you model without needing glue nor paint and the figures can move thanks to over engineering part that just move in the most satisfying way.
I never thought I’d be blown away by how a plastic model can move a legs and feet but I still am to this day. Some models have some very precise movement that actually does improve the movement range beyond what you would expect.
Am I fanboying over plastic models? Yeah I am.
I’d personally recommend to built the RG Nu Gundam to whoever got into Gunpla and is looking to try the best model there is to build out there at the time of writing.
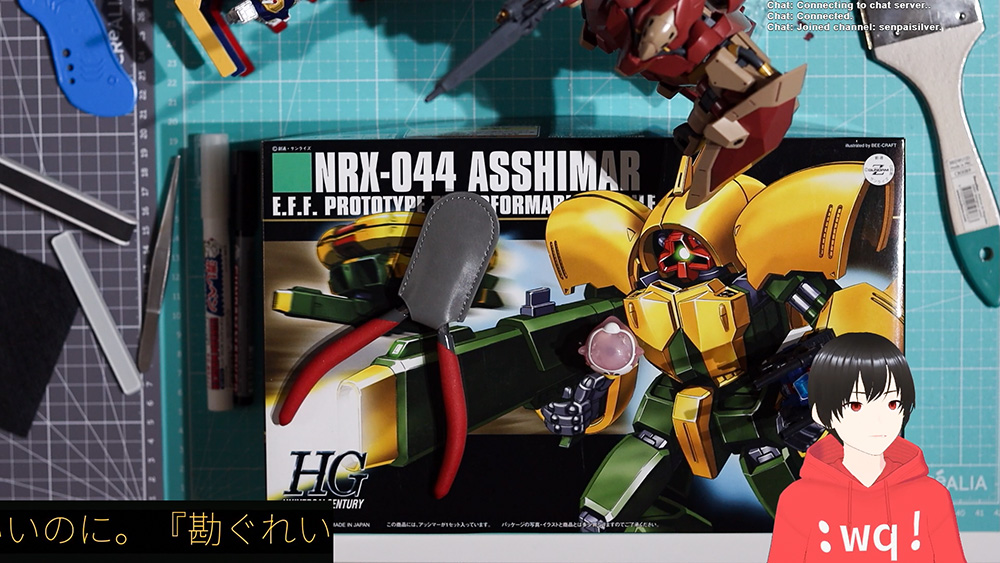
Setting up a stream camera
Let’s get into the main subject after presenting the hobby and my addiction.
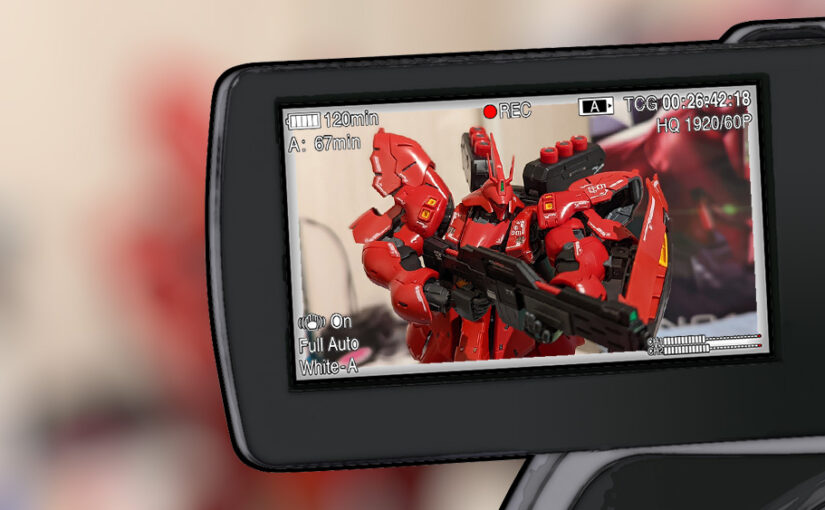
I’m the happy owner of an Avermedia GC551 capture card, a 7 meter long HDMI cable, a Canon 90D and a RØDE VideoMic GO II. This is all you need to get started with showing an image if you know what you are doing.
The basic setup I was going for at the beginning was pretty terrible since I was using a tripod on the side but I’ve since then upgraded to Elgato’s Master Mount L and Flex Arm L to hold my camera in an overhead view… And promptly sent it back because the Flex Arm can’t hold a DSLR when it weighs just 1Kg…
I should have thought about why they don’t specify how much load it can take and some things are surprising…
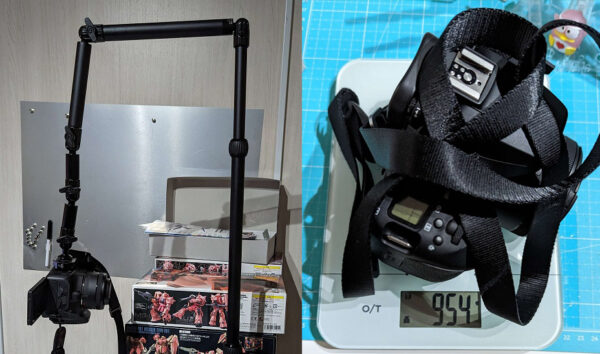
So if the Elgato Flex Arm isn’t an option, what else can I try? Well there’s this Tarion Camera Destop Arm (spelt like that). Am I throwing money to the problem to check what sticks? Yes…
If we take a closer look it’s shorter, with the vertical pole being only 52cm long compared to the Elgato one going up to 128cm. Is it going to be an issue?
If I’m using my Canon EF 50mm f/1.8 STM Lens I need at least 1 meter of distance between the lens and the table to properly record the surface. Buying a 35mm lens would help but it would increase the cost too much for it to be worth right now.
After fiddling a bit with it I’m able to clear the distance and find out that I was wrong: I need more than 1 meter of clearance. So now I’m looking at the SmallRig RA-S280A Air-cushioned Light Stand with Arm 3737, it’s called a light stand but it will be perfect for the camera.
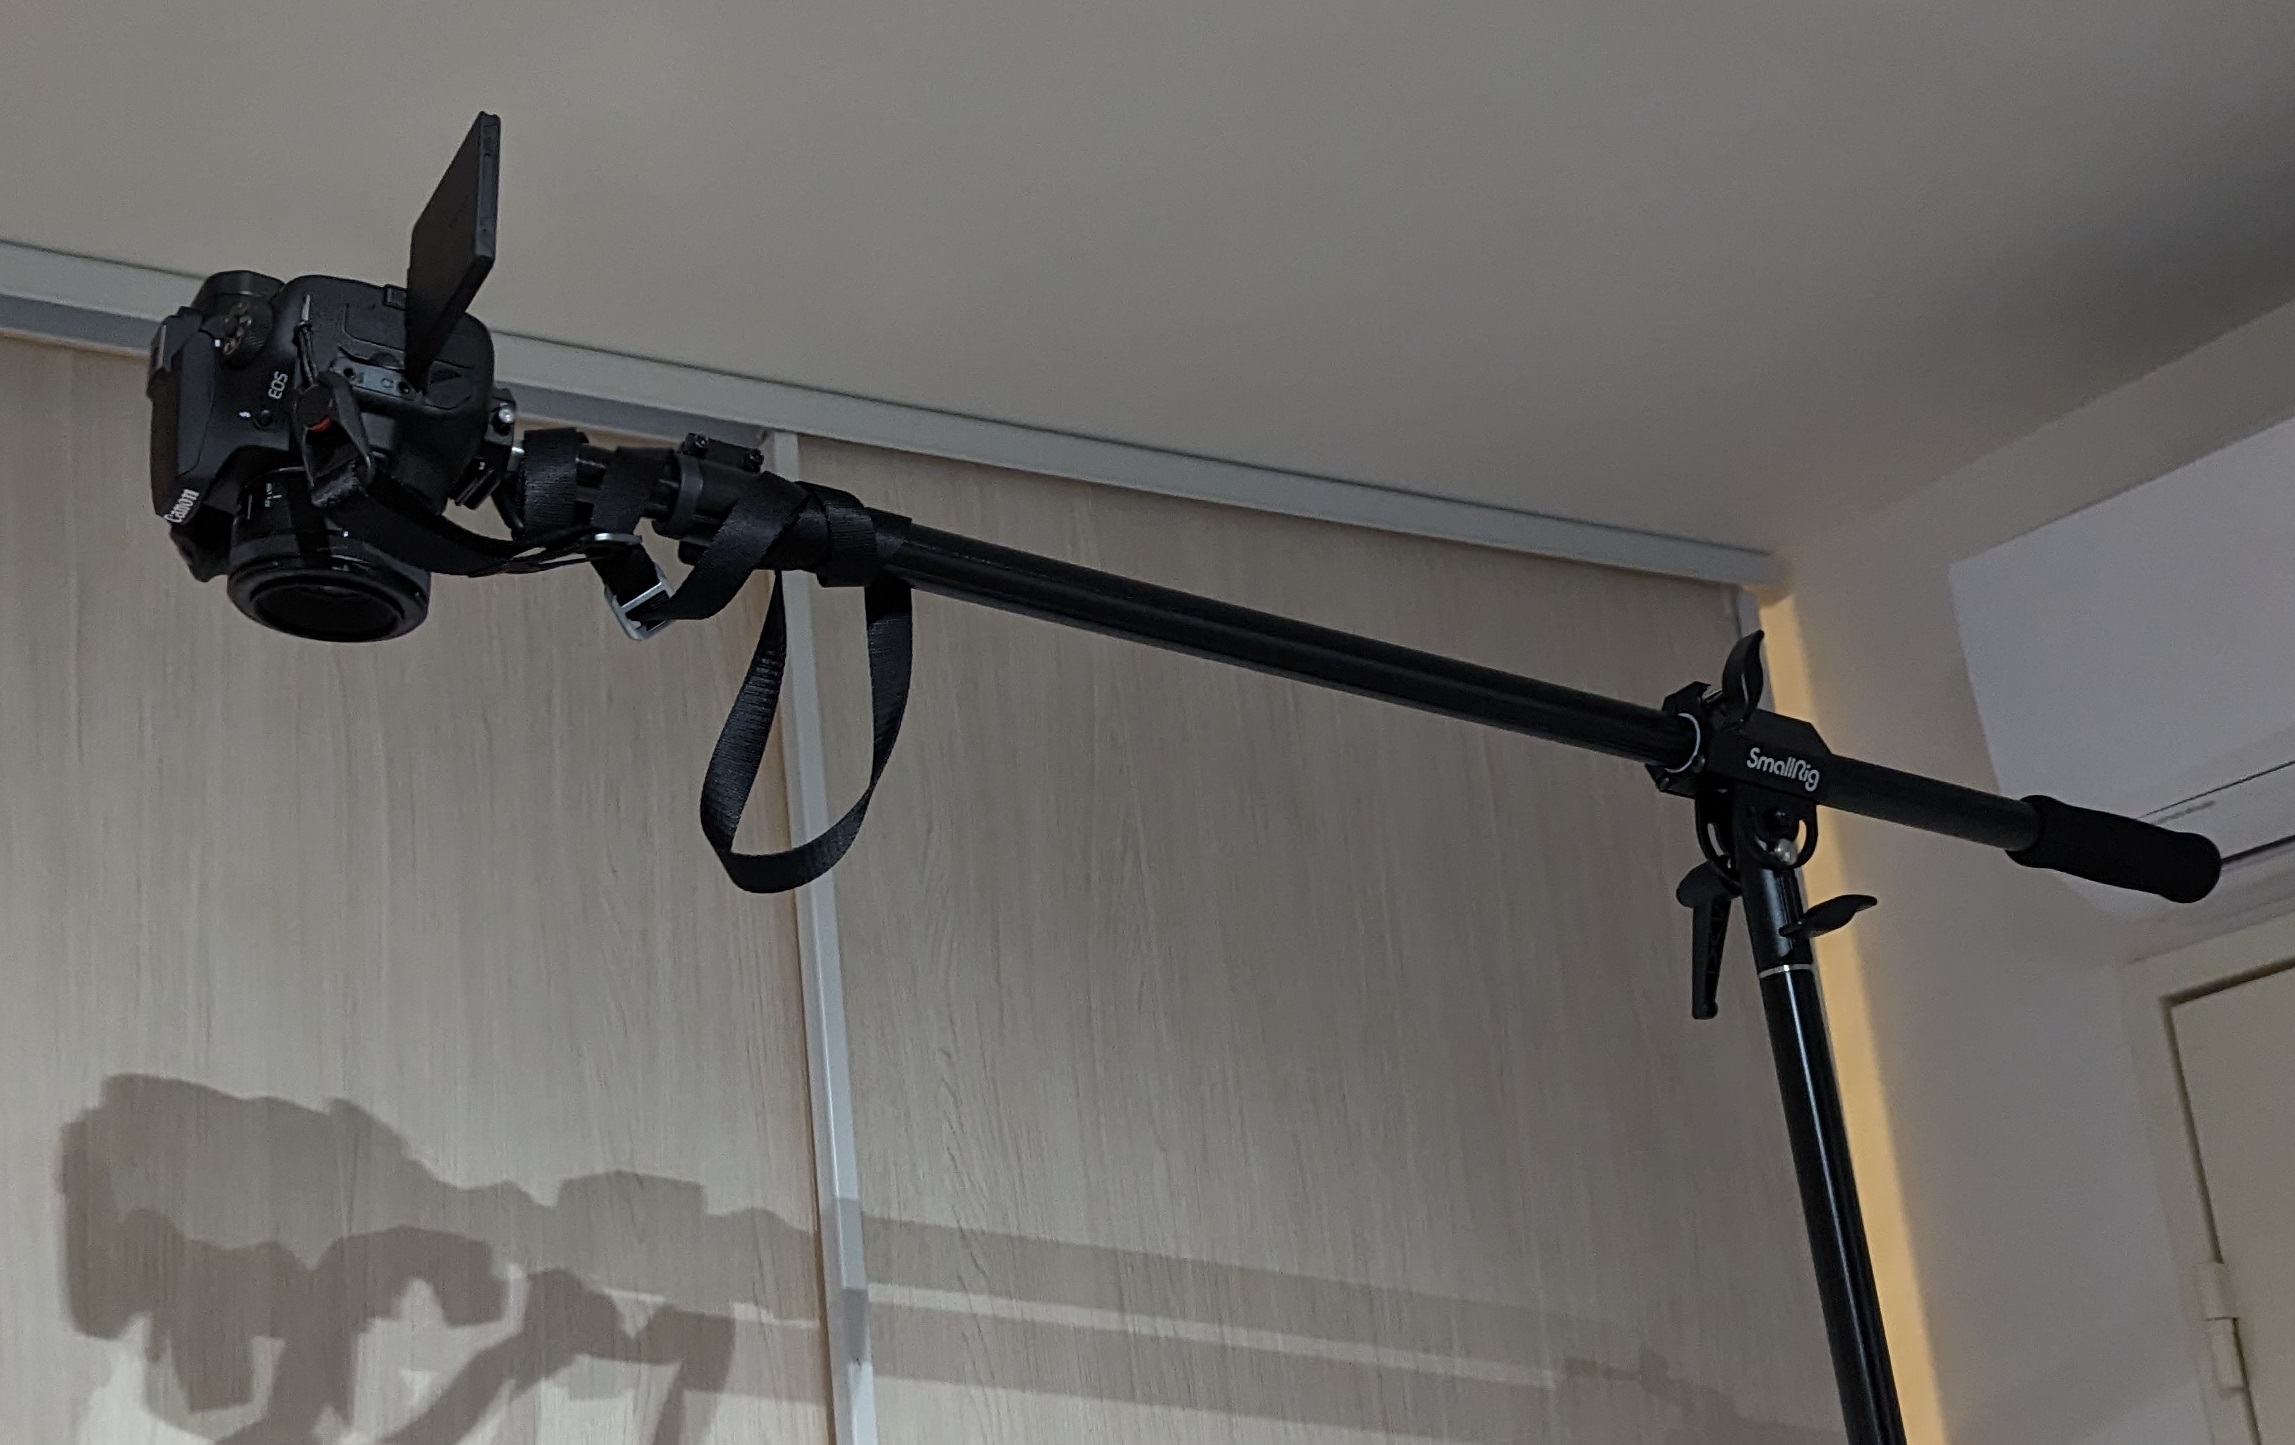
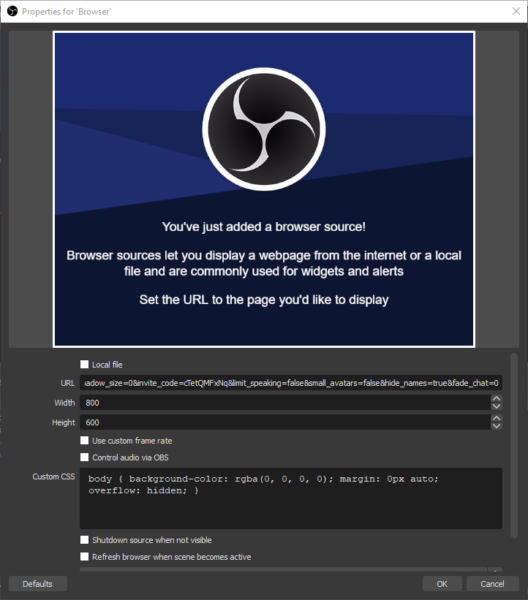
I can also use a counterweight on the handle thanks to a very handy screw in hook and what it looks like from the point of view of the stream ?
It’s perfect for what I need.
What’s next?
Next up is setting up a microphone and an iPhone 11 to capture my voice and facial expressions. Let’s do a combo.
I’m mounting the phone on a Joby GorillaPod 5K with a K&F Concept CA02 Quick Release Plate clip and on top of that I’m putting the RØDE VideoMic GO II on that clip. The mic is connected to the camera and the sound is then fed into the the capture card over HDMI.
The GoPro Hero 11 with the 3-Way Tripod is used as a webcam to complete the body tracking and needs to be facing me.

Adding iPhone facetracking, with webcam body tracking ?
Oh yeah, because I’m not streaming in front of my desktop BEEF PC I need to connect a camera to track my body… My laptop is a MacBook Pro M1 Pro, I’m lucking that I can connect my GoPro as a webcam (as it need to be centered) and I can run OpenSeeFace, the facetracking backend for VSeeFace.
OpenSeeFace requires Python 3, I tried using Python 3.10 but one dependency doesn’t seem to exist for my MacBook, so I’ve opted for Python 3.9 and used the following commands to install and run:
# Clone or download the zip
git clone git@github.com:emilianavt/OpenSeeFace.git
cd OpenSeeFace

# Install the latest Python version & pew for easy venv
brew install python@3.9
pip install pew

# Create an environment for the appropriate Python version
pew new openseeface -p3.9
# Or run you venv
pew workon openseeface

# Install dependencies
pip install onnxruntime opencv-python pillow numpy

# Run facetracker.py
python facetracker.py -c 2 -F 30 -W 1920 -H 1080 \
    --model 4 --gaze-tracking 1 --discard-after 0 \
    --scan-every 0 --no-3d-adapt 1 --max-feature-updates 900 \
    --log-output output.log --max-feature-updates 900 \
    --ip 192.<the_computer_with_vseeface> -p 11573
Now to explain how to select the camera:
- Parameter
-cis for selecting the number associated with the camera; - Parameter
-Fis for the framerate of the camera; - Parameters
-Wand-Hare for the camera resolution; - Parameter
--model improves accuracy, I don’t know why I was able to go with 4 but this is the command line I got from VSeeFace running on Windows and it ran on Mac OS.
Sadly, without running the OpenSeeFace scripts on PC you will have to guess the camera number, frame rate and resolution… Yeah that’s how those things work when there’s no support for Linux and Mac.
My time to shine with a pull request, I should look into that.
For the iPhone I’m running iFacialMocap and this is all you need for your facial expressions, but do setup blendshapes for your model and face, this post isn’t about this.
I only use iFacialMocap and skip the webcam for body tracking, this makes the setup easier but I still wanted to write up all that in case I change my mind.
Conclusion
I didn’t cover the VTubing aspect of it because it’s out the scope of the video but I’ll have to write a post about some of that and explain my setup since my desktop computer is used for streaming but I’m not building anything on my desk.
I need to improve the lighting and maybe do some color calibration for streaming a better image quality.