Assume no changes in Git tracked files

Git is great, I’ll sing its praise until the end of times. Lately I’ve been having some issues with configurations that I don’t want to push and since I’m not the one who made the decision to version certain files I’m not going to remove them or .gitignore them.

Git: assume unchanged

Git is great, I can keep track of a file and assume the local copy is unchanged by updating the index. To assume that a file has not been changed without removing it you will need to use the following command:

git update-index --assume-unchanged <file>

Git: assume changed

Git is still great, it can revert the process and restart tracking changes again with the following command:

git update-index --no-assume-unchanged

Git update-index

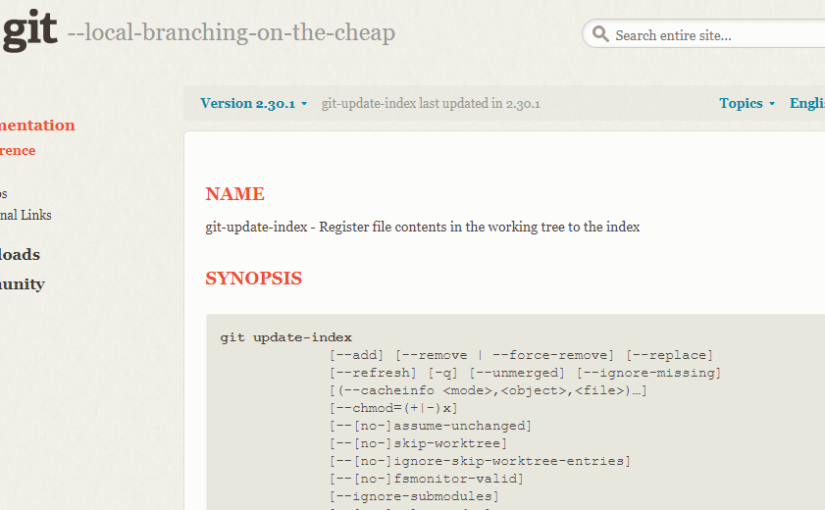
The magic happens thanks to git update-index, you can read more about it here: https://git-scm.com/docs/git-update-index

Bash reminder

I’m currently doing so much Bash scripting that I always end up googling the stuff I should know by now so it’s time for me to write it all down once and for all.

Looping through a text file

Sometimes you build up a list that you want to process, let’s say you want to wget a few URLs.

for read line; do
  wget "${line}"
done < ./urls.txt

It’s obviously a good idea to validate inputs but for the sake of this post it’s not necessary.

Redirecting STDERR

Redirecting to a file and just redirecting to STDOUT can be done two ways. I always forget the syntax so it’s always good to be reminded of it.

# STDERR to STDOUT
curl "${URL}" 2>&1

# STDERR and STDOUT to file
curl "${URL}" &> ./out.log

EOF syntax

In case you want to forward  a multi-line string to a variable you can invoke cat with the EOF syntax:

cat <<EOF
Hello World!
Why So Serious?
EOF

The syntax can actually be a bit tricky since you define on the first line the keyword that will end the multi-line string, in this case EOF.

Mounting a RAM disk

RAM disks are quick and ideal if you need a fast scratch disk, they can be mounted to any folders just like any other kind of device:

mkdir /mnt/ram
mount -t tmpfs tmpfs /mnt/ram -o size=4096M

You can now read and write on your RAM disk through /mnt/ram.

SSH tunnel

When you want to access services that are not available outside of a network you can open an SSH tunnel, which is like a VPN but not totally.

ssh -L 13306:127.0.0.1:3306 user@example.com

Here we bind the local port 13306 to the remote port 3306 through our localhost, we can then access a remote MySQL server through the SSH folder since there’s not good reason to have a MySQL server open to access on the internet.
Let’s manage ou MySQL server now:

mysql -h 127.0.0.1 -P 13306

Keep in mind that even though you can use this SSH command to proxy your network traffic, you will most certainly not achieve better performances than a standard VPN or OpenVPN setup.
Visual Studio Code sets core.filemode to true

Visual Studio Code is great customizable editor for Windows that is actually quite light compared to Visual Studio. It has support for multiple languages and SCM like Git.

But it has a major drawback, at least on Windows… It sets core.filemode to true in Git repositories. That’s bad because you might commit all the files that were not changed with the files that were changed because it sets the execution bit to true.

What is core.filemode?

Git tracks changes in files, even permissions. The setting core.filemode tells Git to track the file’s execution bit from its permissions. This can really mess up versioning.

Solution

You can either globally set core.filemode to false or set it on the current repository with the following command:

git config core.filemode false
git config --global core.filemode false # Sets it globally

Just to be sure I prefer to set it everytime I create a repository and I’ll be using Visual Studio Code.

Update: 2021-02-27

It appears that the PowerShell might ignore the .gitconfig from my home folder too, I’d need to investigate that further to verify this but the short version is: on Windows core.filemode might be set to true by default, so check your repository settings.

Source

Show Me Your Gists

UPDATE 2021/03/04: After reviewing some posts (like this one) I’ve come to the conclusion that this is a pretty dumb idea, don’t use it. Instead use Enlighter.

Update 17/02/2016: Looks like I had to change some CSS again.

Update 12/05/2015: It seems that some themes don’t work well with this plugin. The I recommend the default Twenty Eleven WordPress theme if you need to use this plugin. If you have a fix for other themes don’t hesitate to send a pull request.

As a hot fix you can add the following CSS rule:

.gist .blob-num {
	width: 35px !important;
}

Show Me Your Gists is a simple plugin I wrote to embed Gists links as widgets.

Imagine you want to directly embed this link: https://gist.github.com/SenpaiSilver/0f775a6dac4807c4e97a

Imagine that you can do it just like you embed a YouTube video by pasting a link on a line by itself. Now you can and this is what it looks like.

https://gist.github.com/SenpaiSilver/0f775a6dac4807c4e97a

SMYG is all about easy embedding without even needing to copy and paste the embed link and going out of the visual view to write some HTML.

Brackets

UPDATE 2021/03/04: After reviewing some posts (like this one) I’ve come to the conclusion that Adobe Brackets was ahead of its time, now I’m a VSCode guy.

Brackets is a modern editor that is really great for web design as it updates you page in a live view without having to Alt-Tab out of your editor.

As for any editor it is possible to write any languages in it and even enhance the experience with plug-ins. All the plug-ins can be downloaded in the Extension Manager built-in.

Continue reading Brackets

Python web development with Flask

flask

Flask is a microframework for Python for web development. It’s BSD licensed and is really easy to use for a personnal web project or even for scalable apps for Heroku.
It requires at least Python 3.3, so if you’re running Debian 7 “wheezy” at the time of writing then you might run into problems.

To setup Flask run this command as root:

# pip install Flask

If you’re missing pip and you are on Windows you should get the lastest version that includes pip.
Then to test if everything went well, you will need to run a script such as this one:

from flask import Flask
app = Flask(__name__)

@app.route("/")
def hello():
    return ("Hello World!")

if (__name__ == "__main__"):
    app.run()

Run it as a simple Python script and you should be greeted with a message saying that it’s running:

* Running on http://localhost:5000/

Now you can start your first webapp by reading the documentation.
If you’re serving web pages with Apache 2, you might want to read this.