On the 22th of June 2025 I received an email at 13h04. I don’t usually get emails from Twitter (I won’t call it X) but when I do it’s just the TOS being updated usually.
This is a tale of me learning about inauthentic activity and what it means.
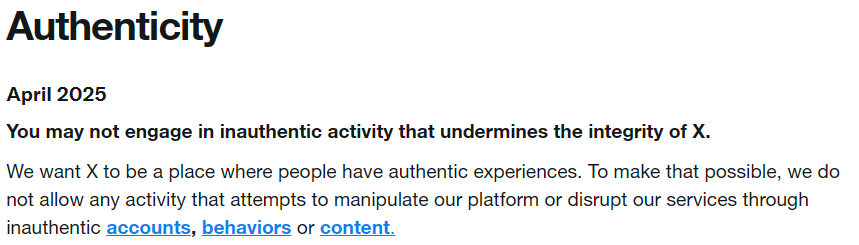
You may not engage in inauthentic activity
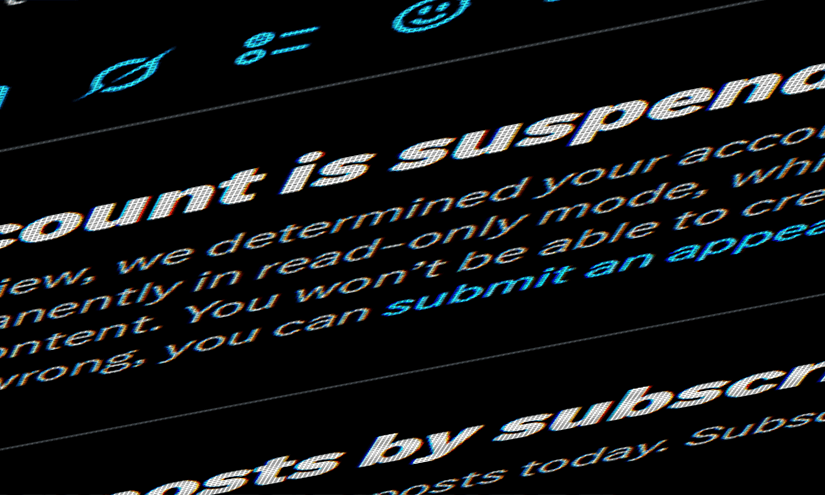
The email accused me of “engaging in inauthentic activity that undermines the integrity of Twitter”:
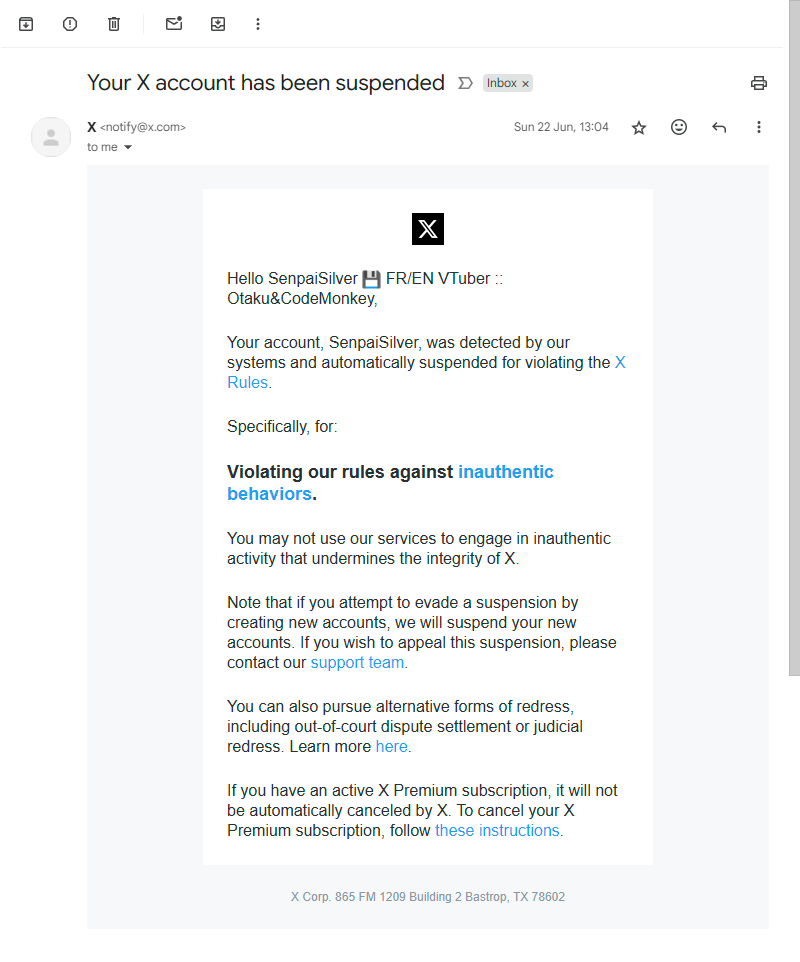
That is a very interesting choice of words because I have no idea what it means and I’m still getting punished for made up words. Why do I believe it’s made up words? Simple: you cannot decide if my being hyped about Gundam is me being inauthentic.
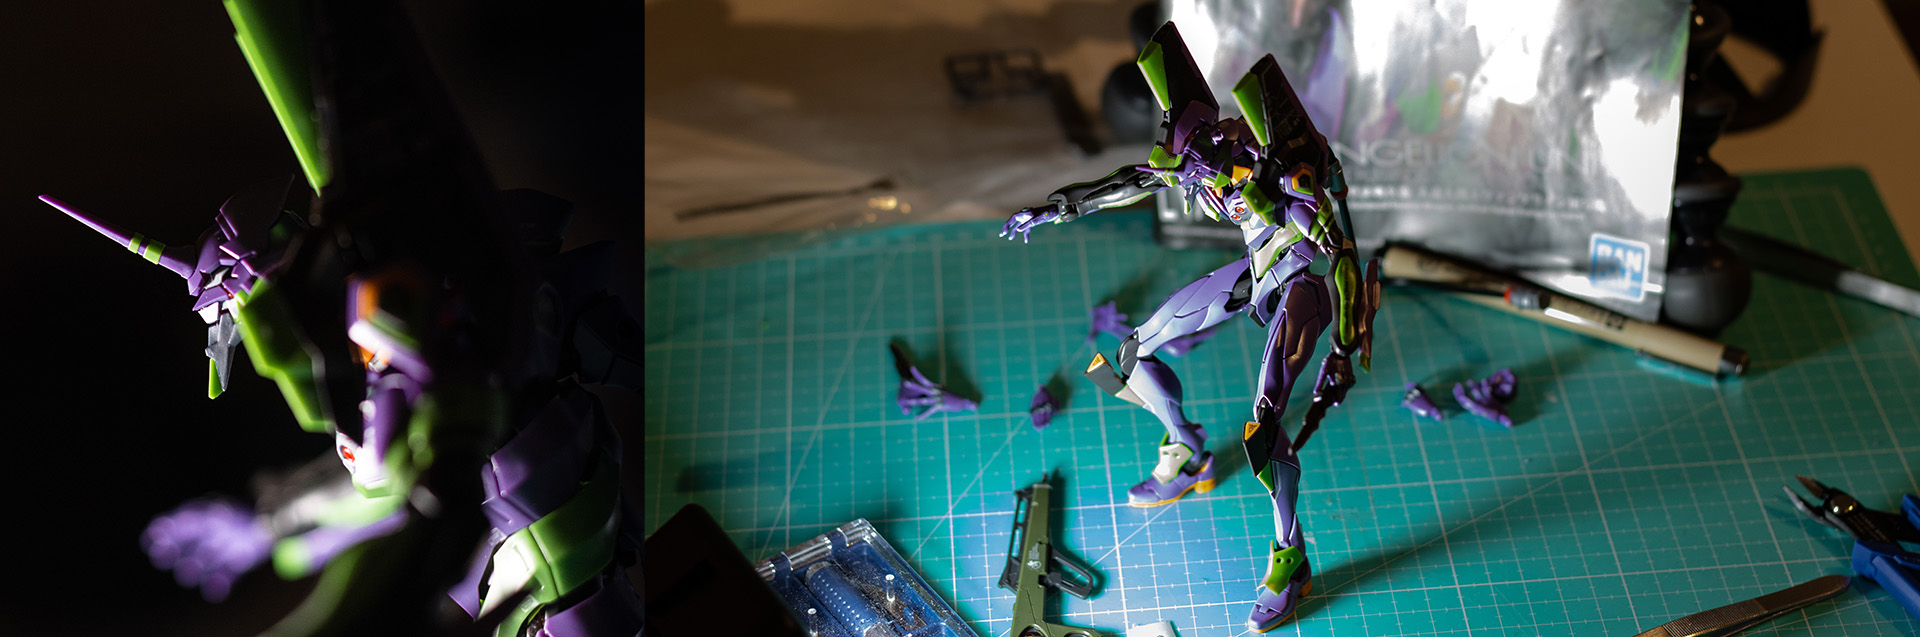
Before the ban I was enjoying being a Gundam QuuuuuuX fan and posting my reaction to the latest episode at the time (episode 11). I was liking fan art and I might have responded to some people about generative AI in the French VTubing circle.
At the time I was at least 10 months into my Twitter premium subscription too.
What the rules say
Last updated in April 2025 before my suspension, the rules page at the time of the suspension explained the rules about inauthentic behavior pretty clearly. So let’s break it down right now.
While this page is no longer up I had made a couple of screenshots at the time:
Platform manipulation is not something I have been doing. I have not promised rewards for likes and retweets and I have not done any begging either.
I have not tried to influence anyone either and I’m clearly not baiting people into interacting with my tweets or account in anyway. I’m a small account with no reach.
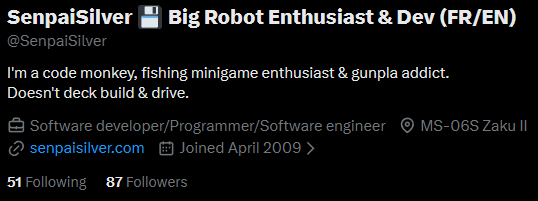
My account is quite old and has a sub 100 follower count. I might have one or two hit tweets but that’s all.

Some people I spoke with in my community think that it’s because my account had “VTuber” written in the bio at the time. Weird that I’d be the only one hit while bigger VTubers just have they followers rolled back when debuting.
But let’s say I was reported for using a VTuber avatar: this means I wasn’t targeted by Twitter but by someone exploiting this due to being “virtual” in some way.

I have not used the API in years and because of the recent changes I didn’t even bother playing with it.
Let’s skip the multiple account and coordination, which by the way would be kinda weird that coordination is banned when you can retweet any tweet on the platform while being coordinated or not…
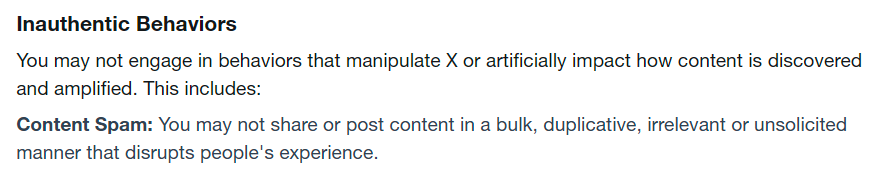
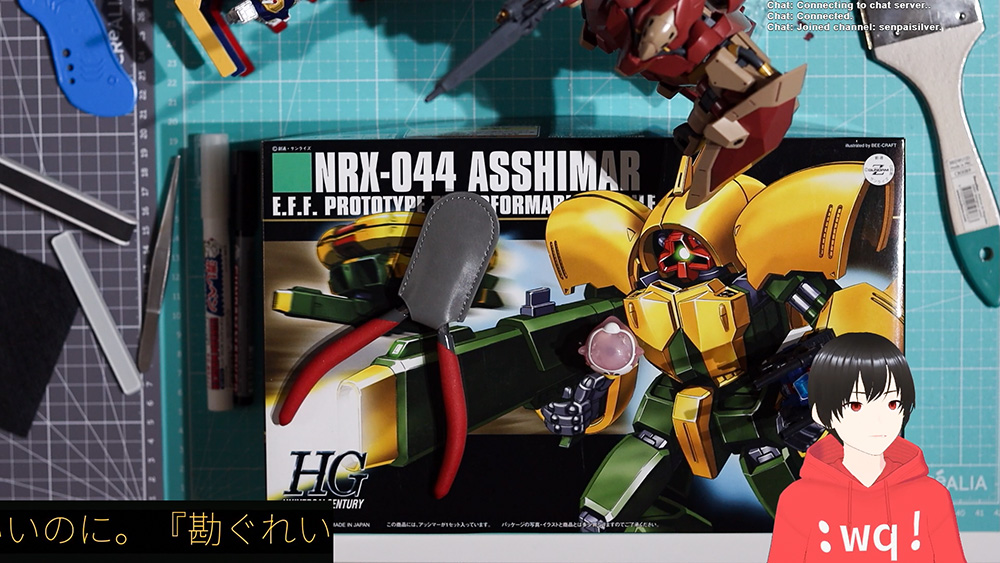
This is one of the reasons I believe I might have been hit. I have probably made multiple tweets over the years with the same content in it. I think I definitely did when I used to advertise my streams.
Advertising my streams goes back a few months now, I have stopped doing that because I had no reach on Twitter and felt like it was just spamming the feed of people not very interested in that.
The thing is: every content creator does it.
The truth is that the way Twitter works people will respond to their “I’m streaming” post with the link of their Twitch channel and not much more, but no one is getting banned for that.
I might have wished happy new year in the same way a couple of years in a row, I might have made one word tweets that same the same thing, I might have had to repeat myself on some subjects. I did definitely post the same string multiple times.
The rules do go on and on… Not much more to say honestly.
My account was locked 3 times previously
During the last year I’ve witnessed my account getting “locked” in some very weird way:
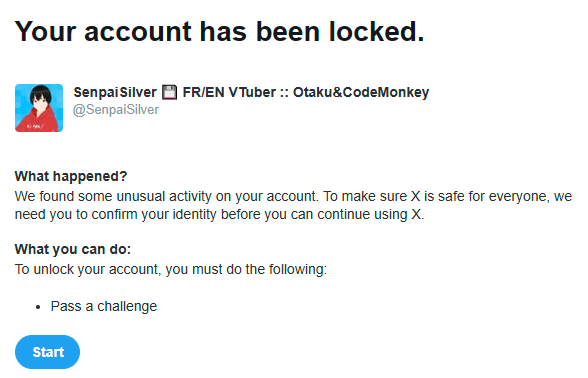
The challenge was basically to make sure I’m a human. Funny since I’m not the one trying to bait people into signing up for premium photos.
This was not a suspension and my account was still up as shown here:
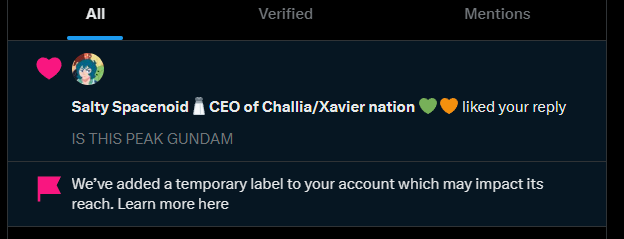
Of course there’s always an impact and this has probably reduced my reach and put me on some sort of shadowban, even though I was apparently not shadowbanned.
What can I do about it?
I’ve appealed multiple times and I’ve been very luck to regain access to my account a couple of months later in late september.
I have appealed once a week during the first month and once in a while after that. Maybe I was just manually reviewed and someone decided it was a false positive. I have no idea.
I might have pissed off the wrong crowd for a reason or another. I don’t care. All I want is access to my account and I’ll enjoy browsing and scrolling my hobbies away.
There’s no conclusion to this story and I might get suspended once more for whatever reason and I’ll have to deal with it somehow maybe. I won’t change anything in my behaviour as I’m acting authentic to myself even if I’m over hyped by giant robots.