This is my follow up to getting started with FFmpeg. I strongly recommend getting to know the tool better in my previous post about it.
Concatenate
Multiple clips can be merged together with the concat demuxer. The idea is to create a text file with a list of files to concatenate together (in order), the format is as follows:
# List of files in order
file './file1.mp4'
file './file2.mp4'
file './file3.mp4'
For the lazy people like me it’s possible to use shell scripting to generate this list:
for f in ./*.mp4; do
  echo "file '$f'" >> list.txt
done
Then you need to feed the file as an input and specify the format (-f) as concat:
ffmpeg -f concat -i list.txt -c copy output.mp4
The wiki page speaks more in detail about this feature.
Extracting the frames
It is quite simple to extract all the frames from a video as pictures.
ffmpeg -i input.mp4 frame_%03d.png
In this command we extract every frame from input.mp4 as PNG pictures. We use the printf format for the numbering of the frame (we pad with 0 the %d for 3 characters).
It’s possible to use the parameters for the start and length of the clip to extract part of the frames or just simply limit number of frames to extract with -vframes. We can also specify a different framerate to work with during this process with -vf fps=1.
Hardware acceleration encoding
For maximum speed it is possible to use a hardware encoder for H264, I will only cover how to do this with an NVidia GPU (NVENC).
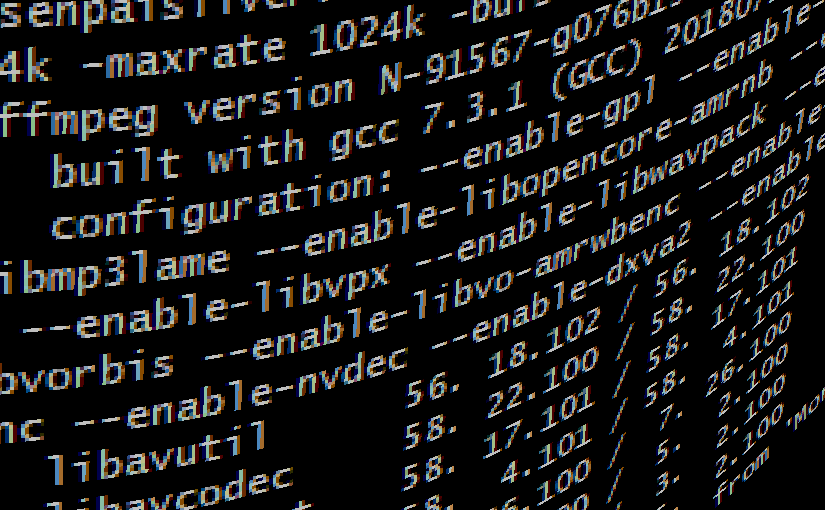
First check that FFmpeg has not been configured with --disable-nvenc, this will appear in the banner when running FFmpeg if NVENC is disabled.
ffmpeg -ss 14:01 -i "input.mp4" \
  -c:v h264_nvenc               \
  -b:v 60000k                   \
  -t 0:30
  output.mp4
This looks exactly as encoding, except the codec on line 2 is different, it has _nvenc appended to it. This is really simple and will boost the encoding drastically.
Reading more
Please check out the following pages if you wish to know more: